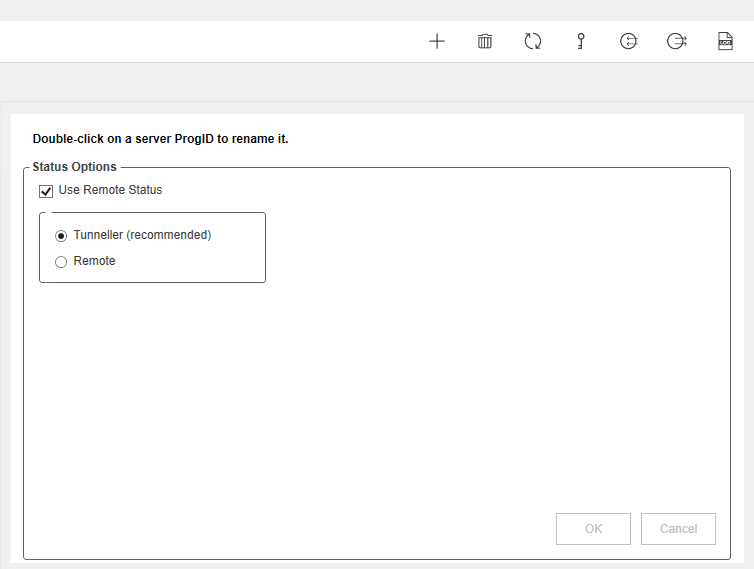
The purpose of this test is to conduct a comprehensive verification of Autotunneller's connectivity. The aim is to ensure that there are no issues on the server side, such as closed ports, services not started, or incorrect configurations in the Tunneller.
Step 1: Verification of the Tunneller Service on the Server Side
Begin by ensuring that the Tunneller service on the server side is running. This can be verified in the Windows Services section.

Step 2: Verification of the Tunneller Service on the Client Side
For this test, it is also essential to ensure that the Tunneller service on the client side is in operation.

Step 3: Tunneller Configuration
Open the Tunneller's configuration panel and proceed to establish the connection of the Tunneller Client with the Server Side. To do this, follow these steps:
Add a new connection by clicking on the "+" symbol.

Retain the default values, ensuring that the "Host Name" field reflects your PC's name. The default port should be 21379. Then, click "OK."

If the connection is established successfully, you will be able to view the available OPC servers in the "Tunneller Compute Connections" panel.
With these steps completed, you will be ready to test the connection on the client side. Be sure to follow the same steps, replacing the "Hostname" field with the IP address of the server where the OPC servers are hosted, if necessary.
We hope that this test ensures an optimal working environment. If you have any questions or need further assistance, please feel free to reach out to us.
Created by JF Solano Vester
Was this article helpful?
That’s Great!
Thank you for your feedback
Sorry! We couldn't be helpful
Thank you for your feedback
Feedback sent
We appreciate your effort and will try to fix the article